|
|
 |
|
|||||
|
|
|||||
|
|
|||||
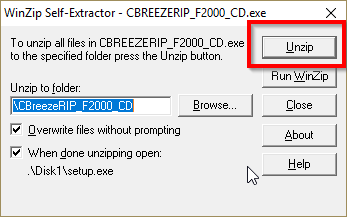
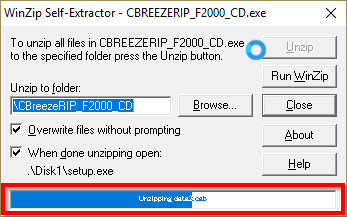
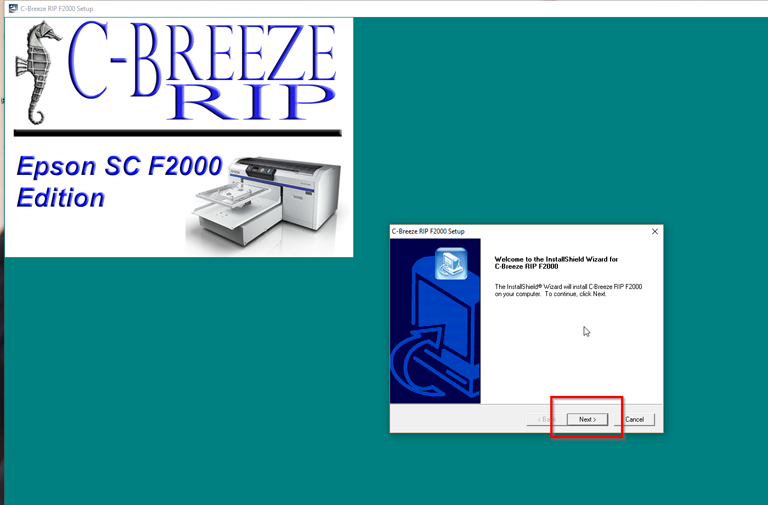
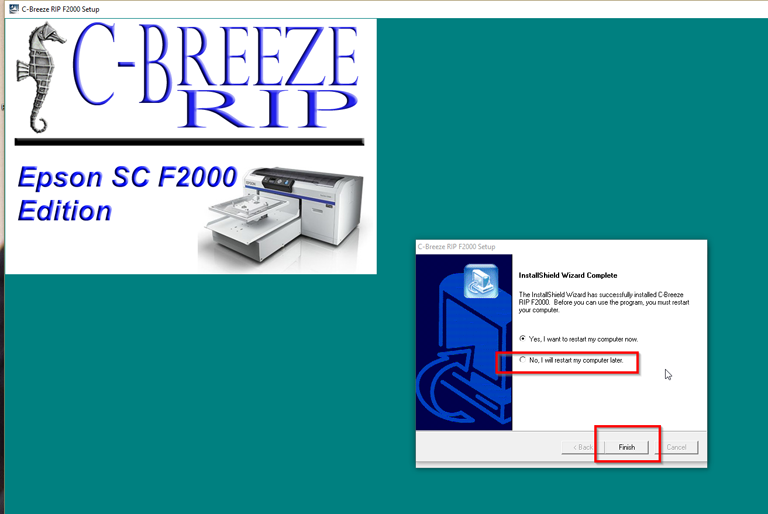
| Installation | |||||
| Watch Installation & validation YouTube video |
|||||
|
|||||
 |
|||||
|
|||||
| Click Next to continue | |||||
 |
|||||
|
|||||
| If you have applications open, select "Yes, restart" otherwise you can select "No" | |||||
 |
|||||
|
|||||
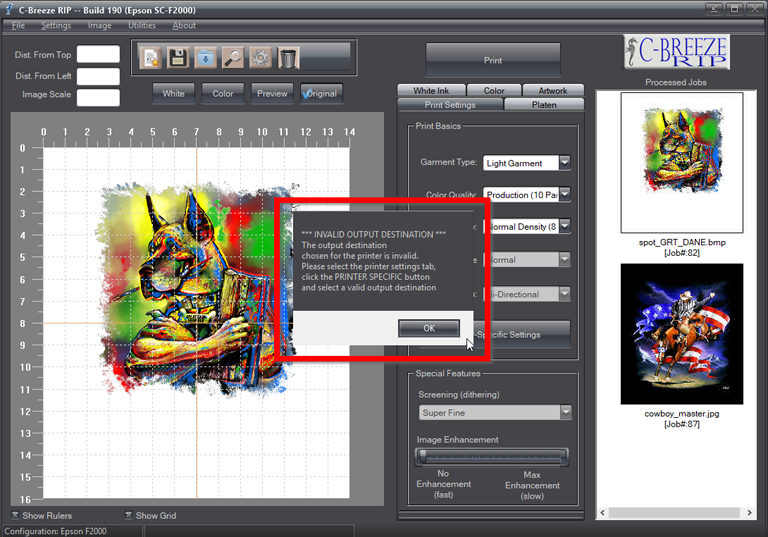
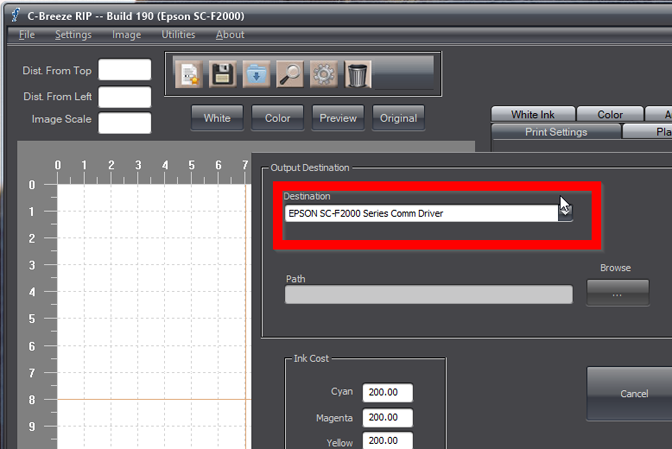
| When C-Breeze RIP
installs, it selects the EPSON SC-F2000 driver as the output destination.
Therefore, either make sure you have the EPSON SC-F2000 Comm Driver loaded
or change the output destination as outlined here.
|
|||||
 |
|||||
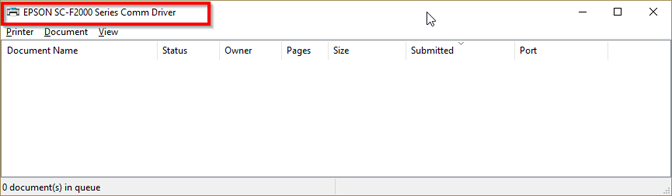
| If you do not have the ESPSON SC-F2000 driver loaded and you do not change the output, you will get the following error when you try to print: | |||||
 |
|||||
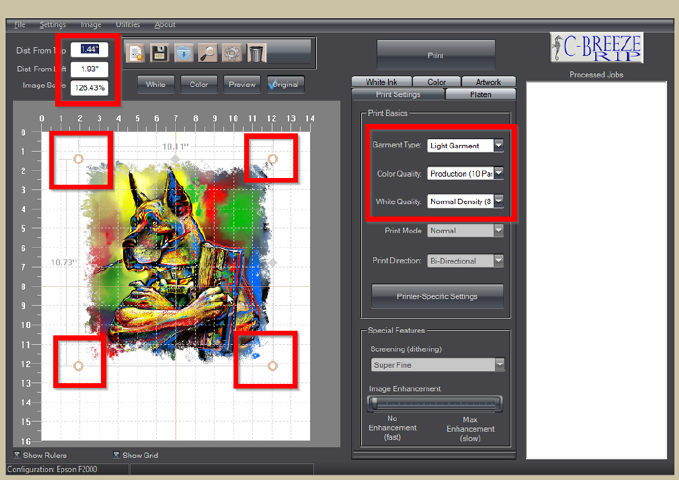
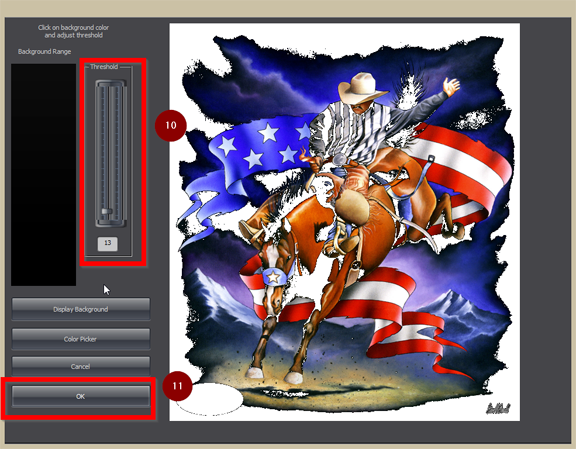
| Printing a CMYK only job | |||||
|
|||||
 |
|||||
|
|||||
|
|||||
 |
|||||
|
|||||
| Use the handles to size the graphic and drag the graphic to it's desired position. You can also specify the location and size in the upper left corner | |||||
 |
|||||
|
|||||
| 5. Click Print to start the print cycle. | |||||
 |
|||||
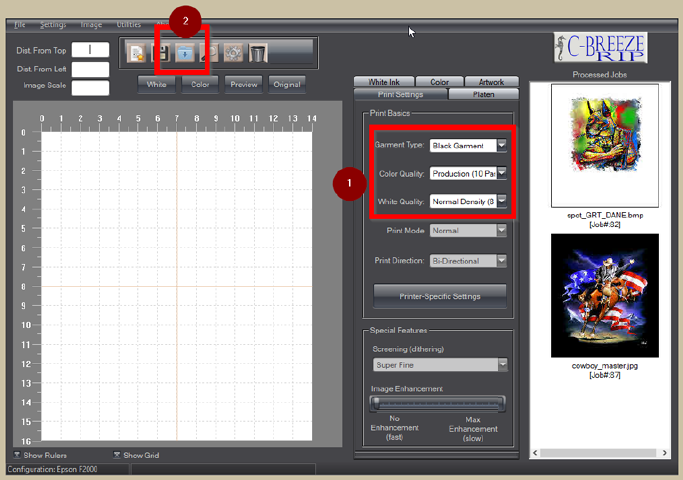
| Printing a CMYK Plus White job | |||||
|
|||||
 |
|||||
|
|||||
|
|||||
 |
|||||
|
|||||
|
|||||
 |
|||||
|
|||||
|
|||||
 |
|||||
|
|||||
|
|||||
 |
|||||
|
|||||
|
|||||
 |
|||||
|
|||||
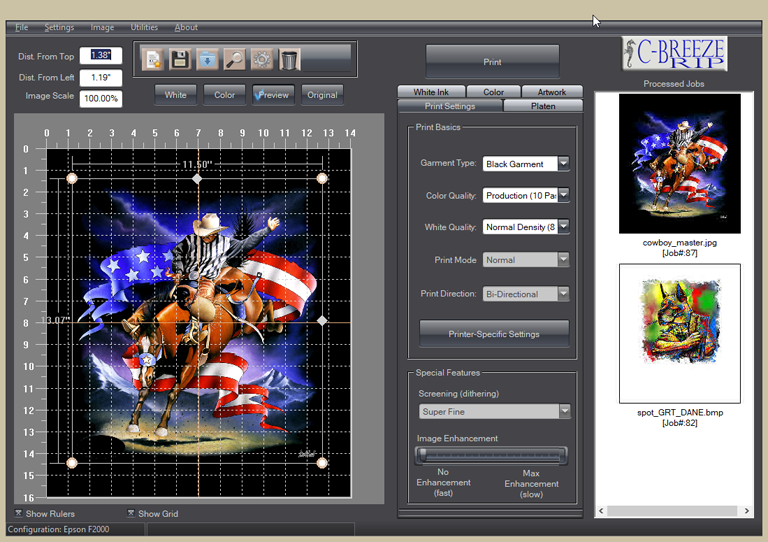
| The job will
print to the selected destination.
|
|||||
 |
|||||
|
|||||
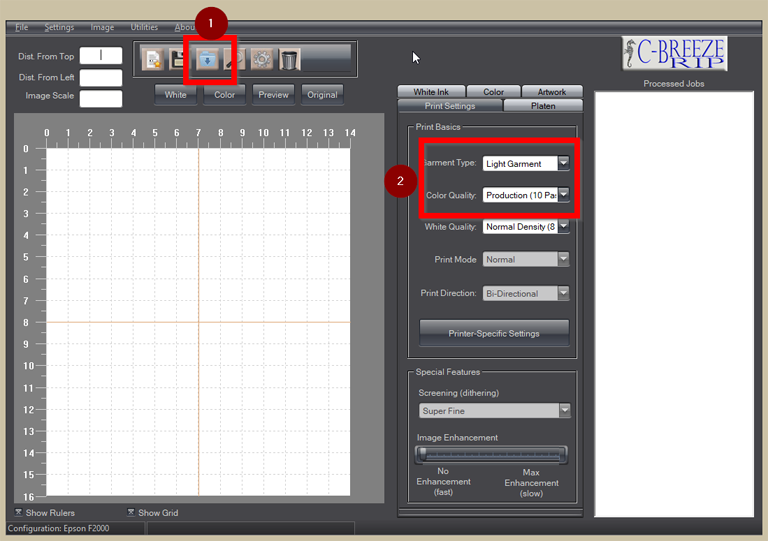
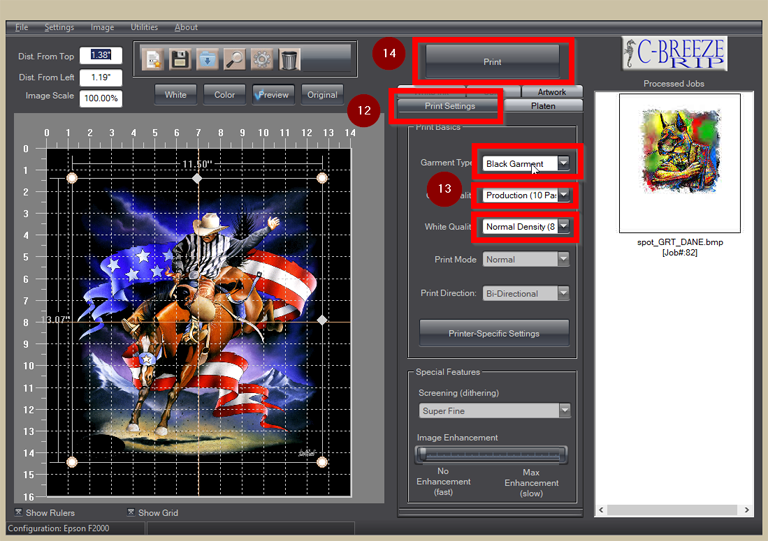
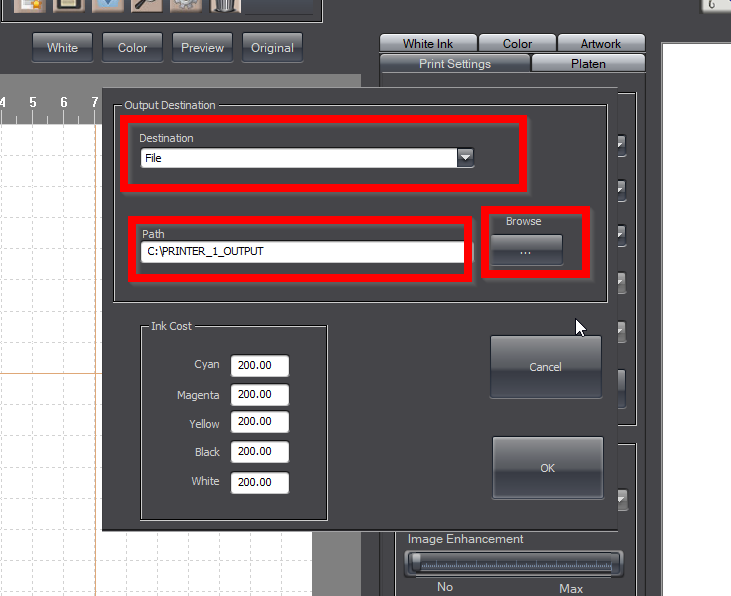
| Selecting The Output Destination | |||||
| C-Breeze RIP is able to print directly to the Epson printer using the native driver or to a folder anywhere on the network or local drive. To change the destination, click the "Printer Specific" button in the Print Settings tab. | |||||
 |
|||||
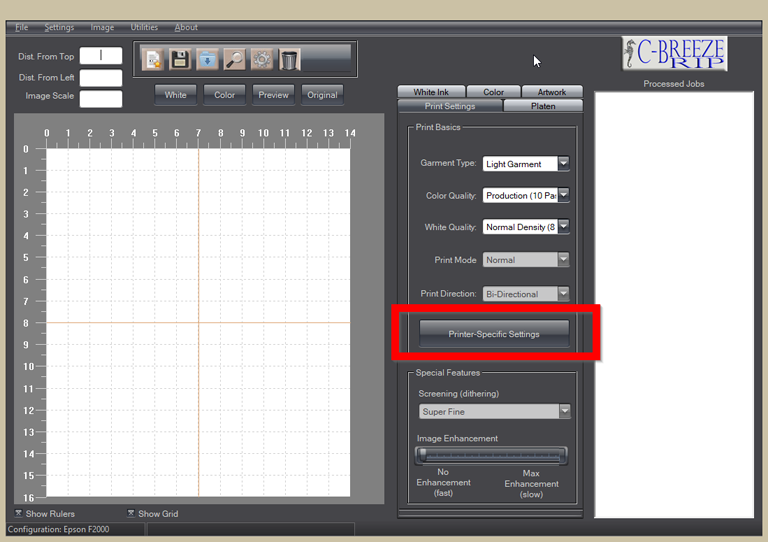
| Select the native Epson driver (EPSON SC-F2000 Comm Driver) if you want to print directly to the printer. | |||||
 |
|||||
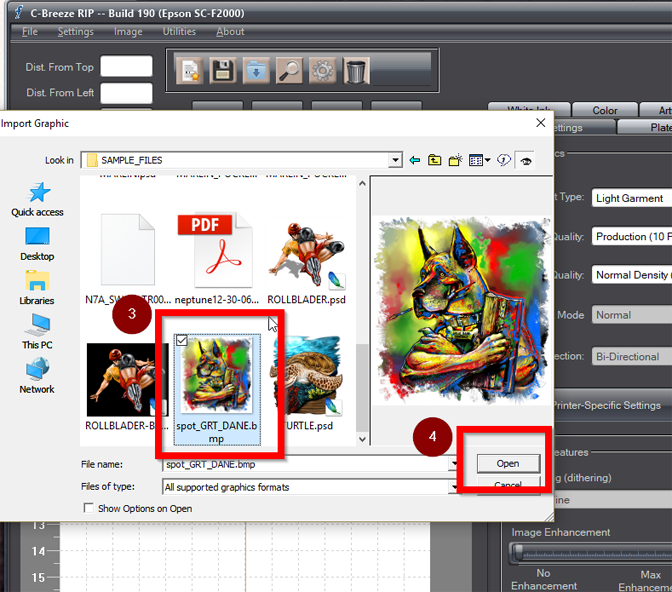
| If the native driver is not installed or for some other reason you want to print to a network or local folder, select "File" from the destination drop down (it's the very first item) then click the Browse button to navigate to the folder you want to print to. You can also type the path by hand. Be aware, however, that if you enter the path by hand, it won't be verified until you try to print, at which time it will display an error if the path does not exist. | |||||
 |
|||||
| BACK TO TOP | |||||
| Copyright(c) 2017 C-Horse Software, Inc. All Rights Reserved | |||||